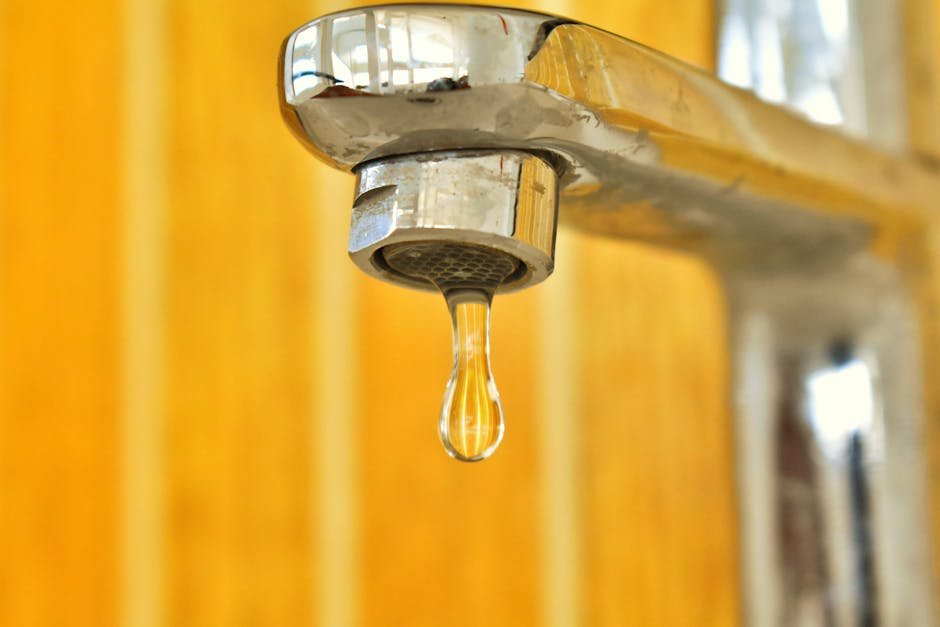
Leaking faucets are a common household issue that can cause a spike in your water bill and create unwanted noise. There’s no need to call a professional when you can fix it yourself with just a few tools. Follow this detailed, step-by-step guide to effortlessly fix your leaking kitchen faucet and save both money and water.
Step 1: Gather the Necessary Tools

Before you can fix your leaking faucet, you’ll need to gather a few basic tools. These are the essentials to get the job done right:
- An adjustable wrench
- A Phillips and flat-head screwdriver
- Replacement O-rings and washers
- Plumber’s grease
Step 2: Shut Off the Water Supply

Before you start working on the faucet, it’s crucial to shut off the water supply to avoid a potential mess in your kitchen.
Sub-step: Locate and Turn off the Valves
Underneath your sink, you’ll find two knobs – one for hot water and one for cold. Turn both knobs clockwise until they’re tight.
Step 3: Disassemble the Faucet

With the water supply off, it’s time to disassemble the faucet to locate the source of the leak.
Sub-step: Remove the Handle
Use a flat-head screwdriver to remove the screw hiding under the decorative cap on the handle, then lift the handle off the assembly.
Step 4: Replace the Damaged Parts

Once the faucet is disassembled, you can replace the damaged parts that are causing the leak.
Sub-step: Replace the O-Ring
The O-ring can often be the culprit behind a leaking faucet. If it seems worn out, replace it with a new one and apply a bit of plumber’s grease.
Sub-step: Replace the Washer
If the washer shows signs of wear and tear, replace it with a new one. Remember, the washer must be an exact fit so make sure to bring the old one to the store for comparison.
Step 5: Reassemble the Faucet

With the damaged parts replaced, all that’s left is to reassemble the faucet.
Sub-step: Put Everything Back Together
Reassemble the faucet in the reverse order you disassembled it. Turn the water back on and check if the leak has stopped.
Summary: Savor the Satisfaction of a Job Well Done

Congratulations! You’ve successfully fixed your leaking kitchen faucet. Not only have you saved money by doing it yourself, but you’ve also learned a valuable skill that will come in handy in the future. Remember, regular maintenance can help prevent leaks, so check your faucets regularly to keep them in good working order.


